


With the former Novagen team agreement, here are the box scans and manuals for Mercenary III.
| Description | Picture (click to see) |
| Overview of the Mercenary III box contents: maps, manual, disk... | |
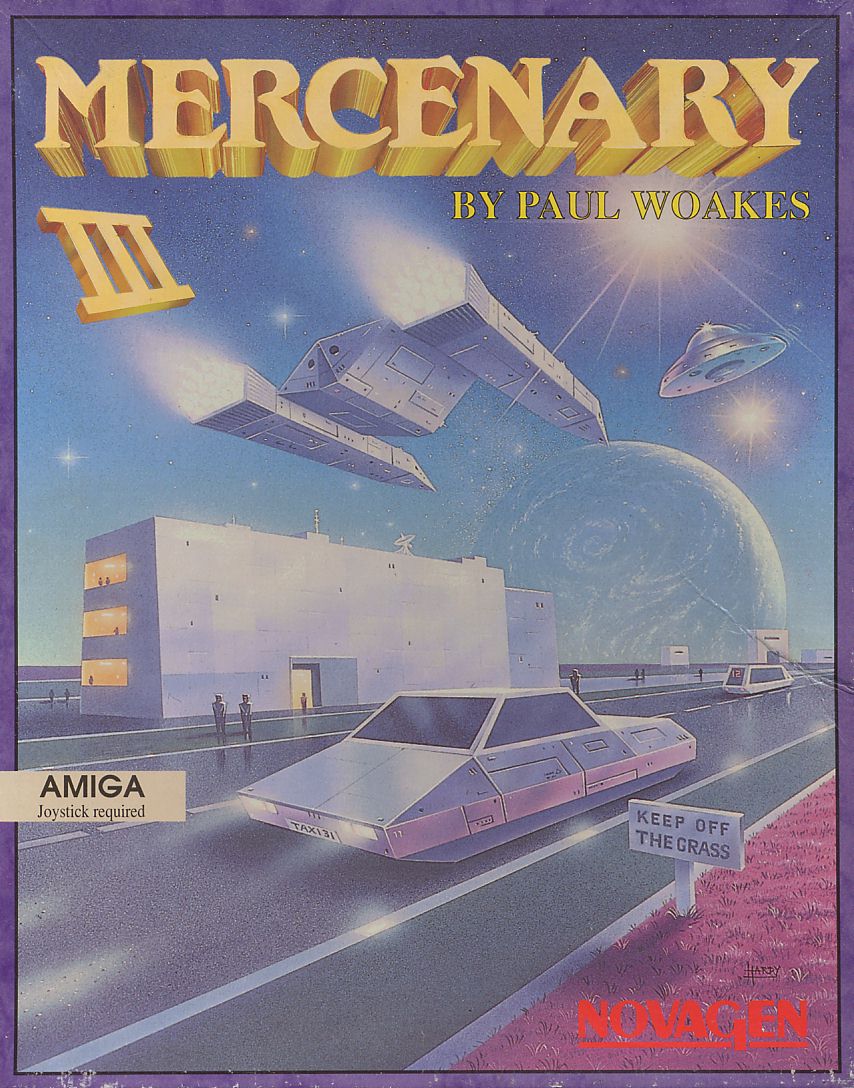
| Front of the Mercenary III box, scanned at 120dpi. | |
| Back of the Mercenary III box, scanned at 120dpi. | |
| Large side of the Mercenary III box, scanned at 120dpi. | |
| Atari ST Sticker on the Mercenary III box. | |
| Atari ST barcode sticker on the Mercenary III box. (thanks to Jacob de Meza) | |
| The new chart D 1747, different from the D 1745 in Damocles. Scanned at 120dpi. | |
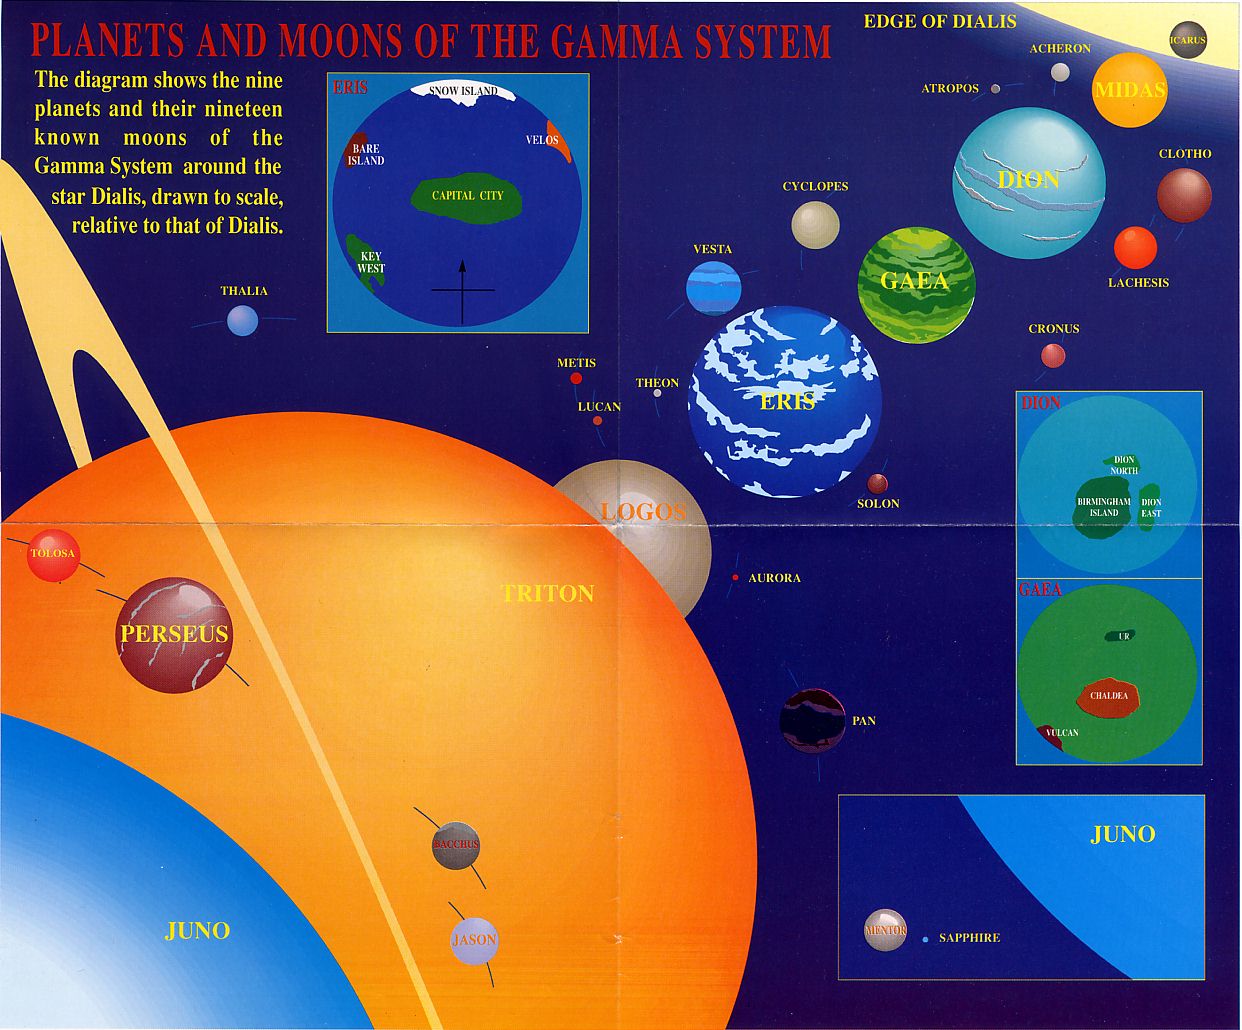
| The other chart, describing the planets and main locations of the Gamma System. Strictly similar to the Damocles one. Scanned at 120dpi. | |
| The Mercenary III Amiga disk, scanned at 120dpi. | |
| The Mercenary III Atari ST disk, scanned at 300dpi. | |
| Mercenary III manual, page 1: loading instructions. Scanned in monochrom, at 200dpi (this may not be easy to read on screen, but has a nice printing quality). | |
| Mercenary III manual, page 2-3: English instructions. Scanned in monochrom, at 200dpi. | |
| Mercenary III manual, page 4-5: English and German instructions. Scanned in monochrom, at 200dpi. | |
| Mercenary III manual, page 6-7: German instructions. Scanned in monochrom, at 200dpi. | |
| Mercenary III manual, page 8-9: Benson Panel. Scanned in monochrom, at 200dpi. | |
| Mercenary III manual, page 10-11: French instructions. Scanned in monochrom, at 200dpi. | |
| Mercenary III manual, page 12-13: French and Italian instructions. Scanned in monochrom, at 200dpi. | |
| Mercenary III manual, page 14-15: Italian instructions. Scanned in monochrom, at 200dpi. | |
| Mercenary III manual, page 16: Keyboard summary. Scanned in monochrom, at 200dpi. | |
| Mercenary III outline briefing (hints) | |
| Mercenary III outline briefing (hints) | |
| Mercenary III outline briefing (solution 1) | |
| Mercenary III outline briefing (solution 1) | |
| Mercenary III outline briefing (solution 2) | |
| Mercenary III outline briefing (solution 2) | |
| Mercenary III outline briefing (solution 3) | |
| Mercenary III outline briefing (solution 3) | |
| Mercenary III outline briefing (solution 4) | |
| Mercenary III outline briefing (solution 4) | |
| Mercenary III outline briefing (solution 5) | |
| Mercenary III outline briefing (solution 5) | |
| The exclamation mark sticker that locked the briefing cards. | |
| Mercenary III public transport schedule, pages 1 and 4. | |
| Mercenary III public transport schedule, pages 2 and 3. | |